How to Fix an Outdoor Faucet
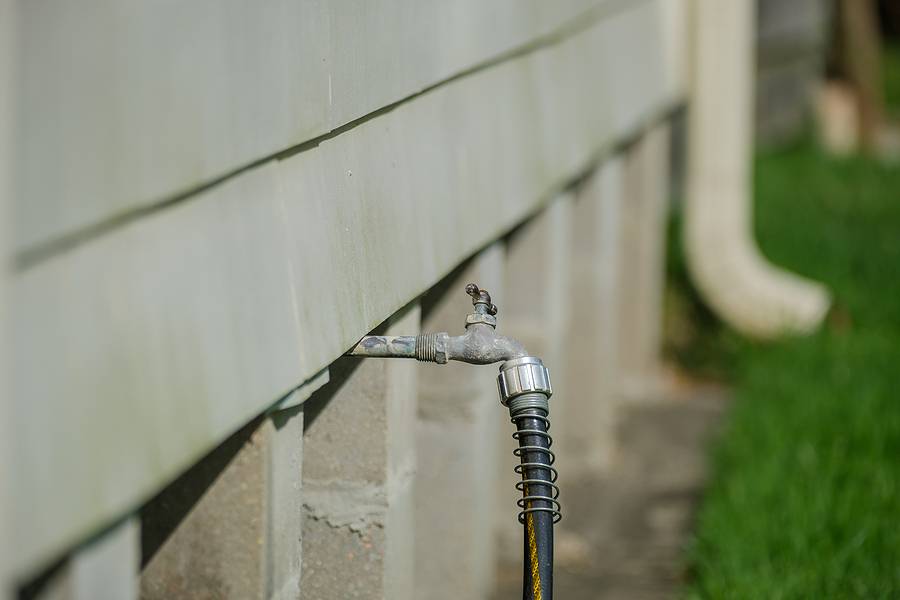
Outdoor faucets provide a convenient water source for gardening and lawn care, cleaning, DIY projects, and outdoor activities. Unfortunately, many of us take our outdoor faucets for granted until they break down. One of the common issues that homeowners experience is leaking outdoor faucets. A leaky outdoor faucet can present as a minor issue, but if left unrepaired for long enough, it can put a serious dent in your wallet when it comes to water bills. Luckily, you can fix a leaky outdoor faucet if you’re handy. All you’ll need is a wrench, Phillips and flathead screwdrivers, washer, and a packing nut.
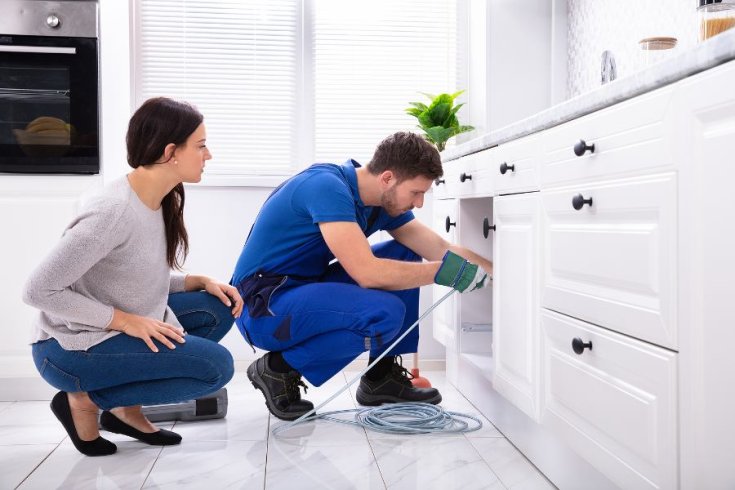
NOTE: If you have doubts about your skill set, it's advisable not to attempt a DIY faucet repair. You should leave the job to a skilled and experienced plumber who specializes in faucet repair. Here at Trust Rooter, we are experts in faucet installation and repair. We are conversant with the process of fixing and replacing leaky outdoor faucets. In this post, we will provide you with a step-by-step guide on how to fix a leaky outdoor faucet.
How To Fix A Leaky Outdoor Faucet
- Step 1: Turn Off The Water
Before you begin any work, ensure you turn off the water supply to the outdoor faucet. Locate the shutoff valve connected to the faucet or shut off the main water supply to your home.
- Step 2: Unscrew The Packing Nut
Using a wrench or pliers, carefully unscrew the packing nut located just below the faucet handle. This nut secures the valve stem in place and provides a watertight seal. If the leak is caused by a loose packing nut, use a wrench to tighten it and see if the leak stops. If the problem persists, you’ll have to replace the packing nut.
- Step 3: Remove The Long Valve Stem From The Faucet
Gently pull out the long valve stem from the faucet body. Pay attention to the orientation and arrangement of any components as you remove them so that you can put them back correctly.
- Step 4: Replace The Washer
At the end of the valve stem, you'll find a rubber washer. This is often the source of leaks. Use a flathead screwdriver to carefully remove the old washer and replace it with a new one of the same size and type.
- Step 5: Tighten Or Replace The Packing Nut
If the packing nut shows signs of wear or damage, consider replacing it. Otherwise, if it's still in good condition, tighten it securely over the valve stem.
- Step 6: Screw The Valve Back On
At this point, it’s time to put everything back together. Slide the valve stem back into the faucet body and secure it in place by tightening the packing nut. Make sure it's snug but not over-tightened, as this could damage the components.
- Step 7: Turn On The Water
Once everything is securely in place, slowly turn on the water supply to the outdoor faucet. Start with a gentle flow to check for any remaining leaks. If there are no signs of leakage, you can fully open the faucet. If the faucet is still leaking, call a professional plumbing service to help you out.
Call Trust Rooter For All Of Your Plumbing Needs
Do not hesitate to contact the skilled plumbers at Trust Rooter if you need help with faucet repair. We are top-rated plumbers offering a comprehensive range of plumbing services. From faucet repair to garbage disposal repair, dishwasher installation, toilet repair, water heater service, drain services, and emergency plumbing service, we’ve got you covered.


 Sep 20,2023


